Every detail of a religious space is important to creating a beautiful, serene environment for worship. Church pews, in particular, are crucial to the history, aesthetics and functionality of these buildings. Pews can lose their original beauty over time as they become worn and damaged from extensive use and sanitation.
Church pew refurbishing can bring the benches back to their former glory, revitalizing the appearance of the entire worship space while honoring the building’s history and tradition. Restoration processes can also protect and preserve pews for longer life spans by updating them to modern standards for comfort, functionality and spacing. With the right tools and techniques, you can restore your pews and enjoy a new sense of beauty and sanctity.
Step 1: Assessing and Preparing
Inspect the church pew or pews you plan to restore before beginning the restoration process. Examine what damage you will need to address, and gather the needed tools and materials to ensure you have everything on hand. Find a well-ventilated area to work in, preferably outside.
Materials you will need for church pew restoration include:
- Sandpaper: An electric sander can quickly cover large areas, while hand sandpaper is useful for hard-to-reach areas.
- Wood filler: If the bench has some damage, a wood filler will help you fill in the scratches and cracks to create smooth surfaces.
- Stain: Choose a color that matches the color scheme of the room.
- Varnish: Find a durable surface finish that suits your needs and aesthetic preferences.
- Drop cloth: A drop cloth can help contain any mess, making cleaning easier.
- Gloves and face masks: Wear protective items such as gloves and face masks to keep yourself safe throughout the project.
Additionally, gather tools such as:
- Screwdrivers
- A small scraper for removing old finish
- Clamps
- Toothbrushes for cleaning intricate carvings
- Paintbrushes
- Cleaning rags
- Rags or brushes for stain application
Step 2: Cleaning and Stripping
Clean the pew thoroughly to remove dust, dirt and grime. A mixture of water and mild soap is best for wood surfaces. Use a damp, not wet, cloth to clean the bench without saturating the wood with water.
You will also need to clear away any old paint and finishes so the new coat of stain and finish will stick to the pew. Try one of these two methods for removing the existing finish:
- Chemical strippers: If your pews have intricate carvings and details you want to preserve, a chemical stripper may be ideal. They soften the paint or varnish over a few hours to make it easier to scrape off, but you should always wear a mask and work in a well-ventilated area.
- Sanding: Sanding is an efficient way to remove old finishes from large surfaces. You can use hand sandpaper or a rotary power tool to reach small, tight spaces.
Step 3: Repairing and Sanding
Once the pew is clean and stripped of old paint and finishes, you can start repairing damage. Fill in any cracks, splits, dents or scratches with wood filler to create a smooth surface for staining. Pay special attention to structural damage, like loose joints, old glue and broken parts. Reinforce the joints and screws, and add more wood glue to ensure the pews are safe for seating.
If the bench has minimal water damage, you can sand the surface to remove the marks. You will want to sand the entire surface to eliminate all imperfections and prepare it for a deep stain saturation. Keep these sanding tips in mind:
- Start with a coarse-grit sandpaper and progress up to a finer grit for a smooth finish.
- Sand with the grain.
- Keep your sandpaper moving to avoid creating uneven patches.
- Attach a vacuum to your electric sander to minimize wood-shaving debris.
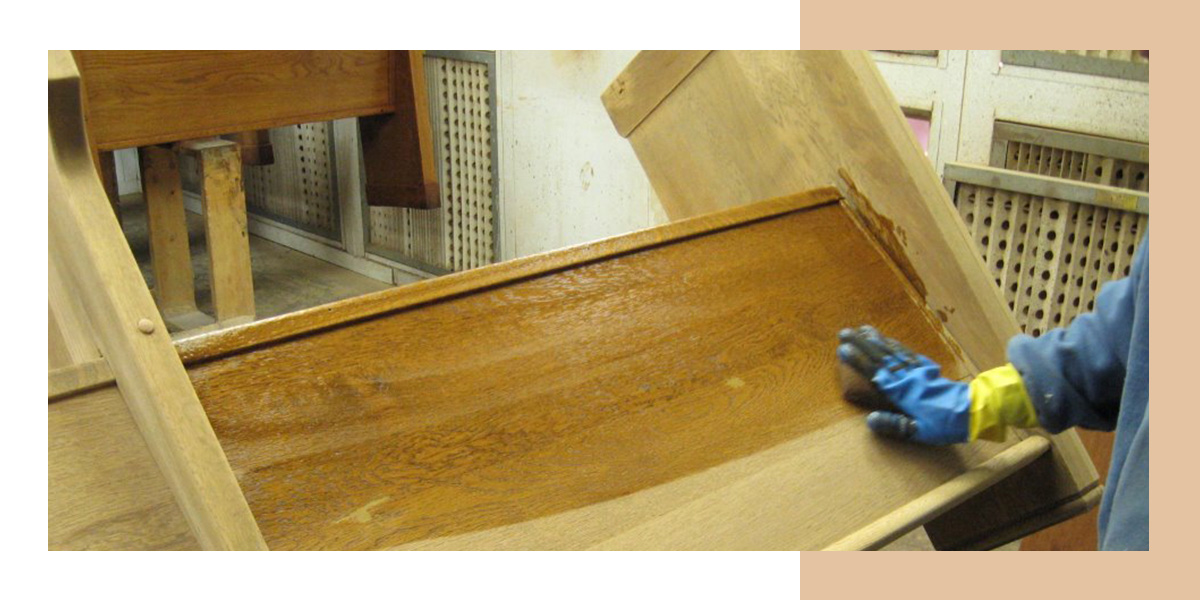
Step 4: Staining and Finishing
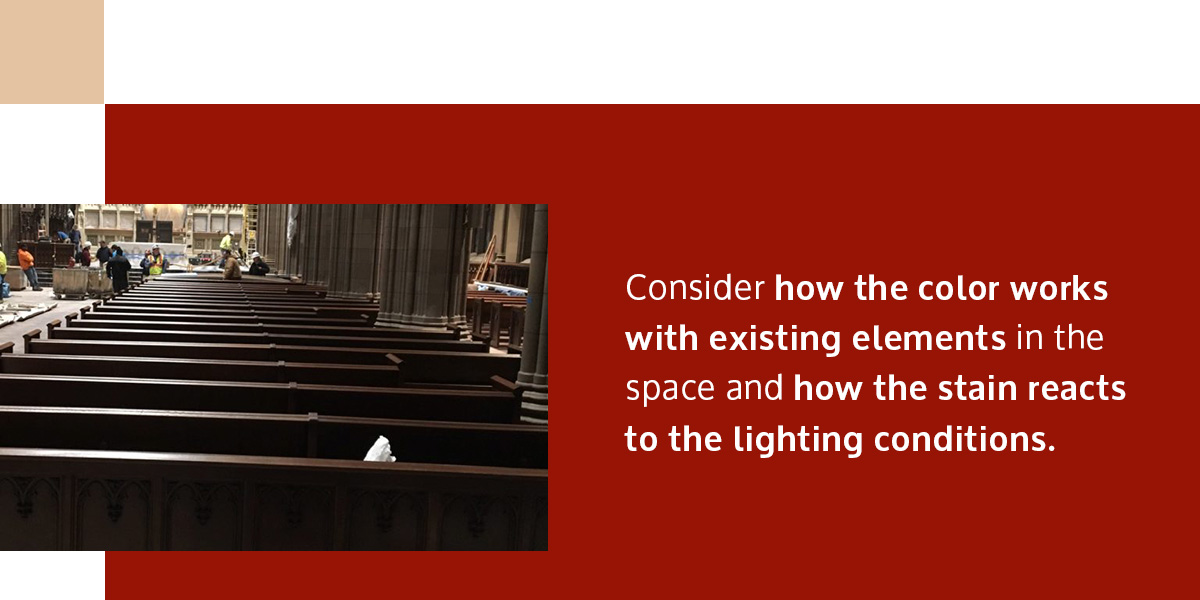
During the preparation stage, you should have selected a stain and finish that suits the ambience of the room. Test the stain on a small portion of the pew to see how it looks before covering the entire surface. Consider how the color works with existing elements in the space and how the stain reacts to the lighting conditions.
Stain the pew by following these steps:
- Stir the stain to evenly distribute and mix the pigment.
- Apply ample amounts of stain with a rag or brush, working it into the pores as you rub along the grain.
- Give the wood some time to absorb the stain, leaving it for a couple of minutes for a lighter tone or five to 10 minutes for a darker tone.
- Wipe away excess stain with a dry cloth before it dries on the surface.
- Re-stain the surface when the first coat dries if you want an even darker color.
- Allow the stain to dry completely before applying a finish.
Finishing the wood helps ensure the pew’s longevity and durability while enhancing its aesthetic appeal. It gives the bench a protective layer that can withstand high traffic and wear and tear. Use a clean paintbrush and a light, even stroke to apply the finish along the grain. You can apply as many coats as you see fit.
Types of surface finishes include:
- Varnish
- Polyurethane
- Lacquer
Step 5: Reassembling and Final Touches
Once the finish is dry, you can reassemble the pew. Ensure all parts are securely attached, and check the pew for stability. If needed, you can add cushions or upholstery to improve the bench’s appearance and make it more comfortable for worshippers. Upholstery and cushions can also help preserve the pews by serving as a protective barrier to prevent scratches and wear. Look for fabrics that offer durability, easy maintenance, stain resistance and beauty.
Complete any final polishing and give the bench one final inspection to ensure everything looks good. At this point, you can make a plan for regular maintenance so you can continue to enjoy the pew’s refreshed aesthetics and functionality. Pew cleaning and maintenance should include weekly dusting and careful washing and vacuuming once a month.

Contact The Keck Group for Professional Pew Repair and Restoration Services
The DIY pew restoration process can be time-consuming and demanding, depending on your experience and the number of pews you need to restore. While it is possible to restore pews on your own, working with a professional can save you time and energy while ensuring you get a seamless finish.
The Keck Group has been refinishing and restoring church pews since 1972. Our professionals have the expertise to revitalize your worship space, transforming your pews into stunning and functional historical pieces that enhance your worshippers’ experiences.
Invest in your building’s history and appearance with help from The Keck Group. Contact us today to learn more about our pew restoration services.